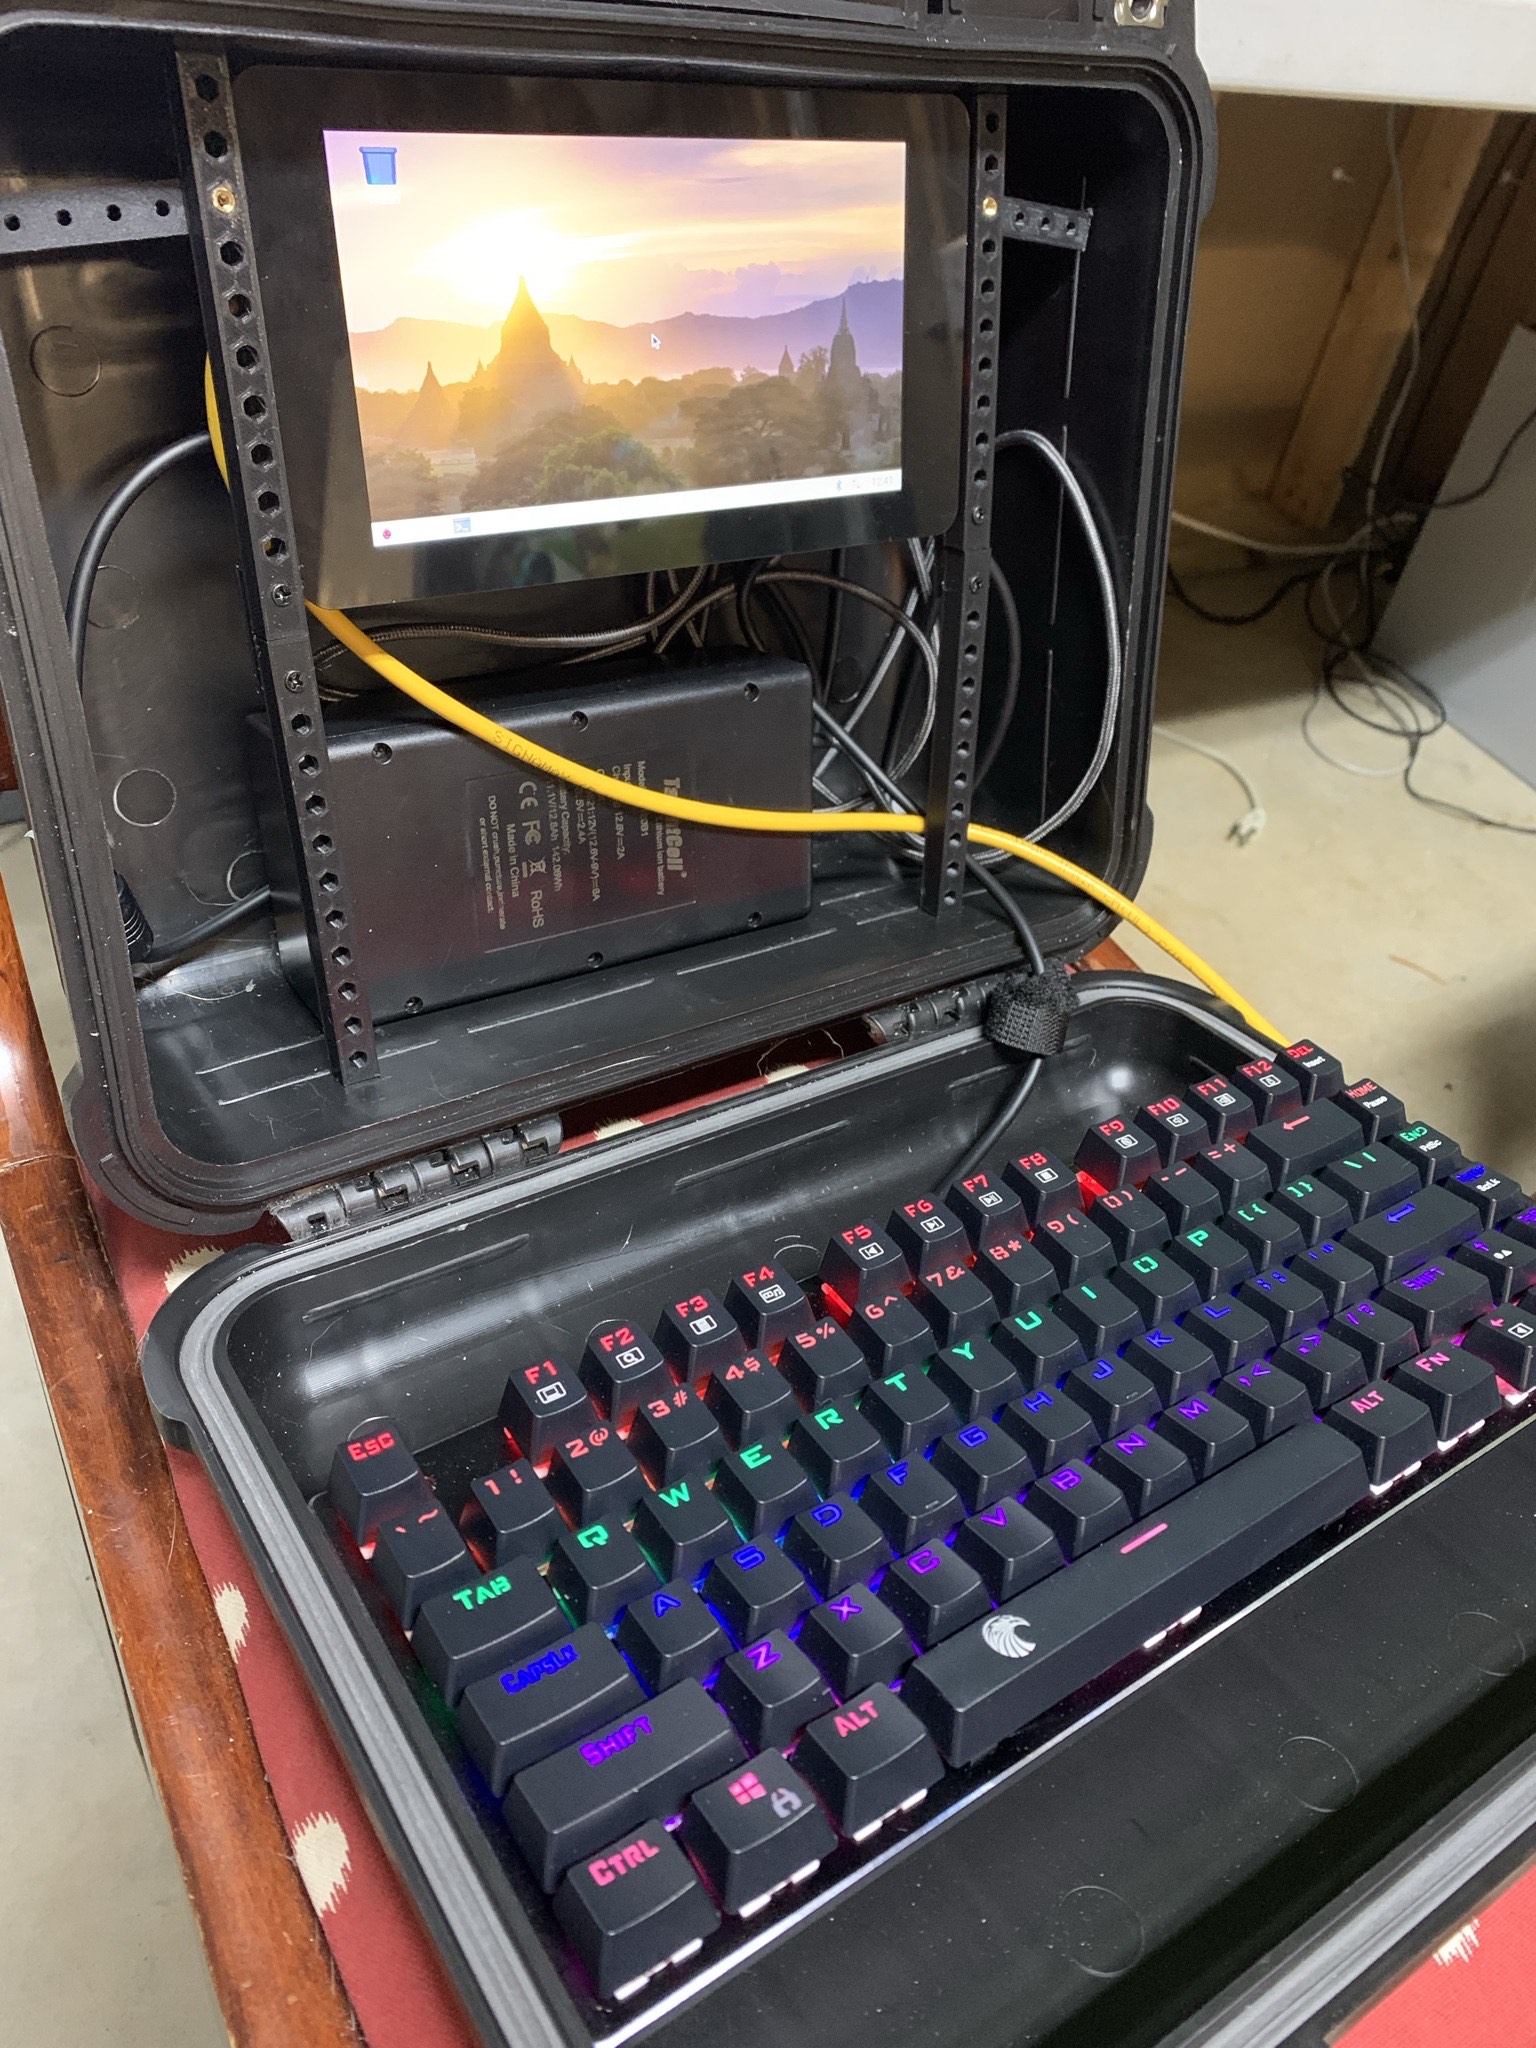
Cyberdeck Part 1
Recently I was poking around on the internet looking for cool Raspberry Pi cases to 3D print. I have a few Raspberry Pi’s around that do various tasks, and I was thinking it would be cool to print up a stylish case. Well, this is how I stumbled on the idea of building a cyberdeck.
I learned that the term “cyberdeck” comes from a cyberpunk book written in 1984 called Neuromancer, by William Gibson. Once I started down the internet rabbit hole of cyberdecks, I realized I needed to build one. Checkout r/cyberdeck on Reddit to see some fun and creative builds.
I have a RPi that I use with my Xiegu G90 HF transceiver, for digital communication modes like FT8 and JS8Call. I decided straight away that my cyberdeck would incorporate the Xiegu G90, and the RPi in a single, luggable fashion. This would be perfect for POTA activations or just general ham radio geekery while RV camping.
So, I grabbed a Pelican case knock off from Harbor Freight, calipers, and fired up TinkerCad. Being a pilot, I really like the way panels in airliner cockpits appear to be very modular. They look like they are mounted by screws on rails, sort of like rack mounted equipment. I thought, this would be a neat way to design my cyberdeck.
So here’s what I started with:
I 3D printed some rails, like 19” rack rails. I started with round holes, but then after more thinking, I decided to make the holes hexagons. This would allow me to insert brass hexagon nuts anywhere I wanted a screw. I chose M3 sized hex nuts, and ordered an assortment case of M3 screws from Amazon.
Here’s the parts seen in that photo:
- 3D printed rails
- M3 screw assortment pack
- Hexagon brass nuts
- Z88 LED keyboard I love this keyboard, it’s loud and clicky, reminds me of my dad’s Kaypro 10 in 1985
- 12V 38400MAH Lithium Ion battery pack
- Raspberry Pi 4
- Raspberry Pi 7” touch screen
- Harbor Freight equipment case
More to come in Part 2
